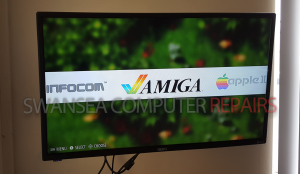
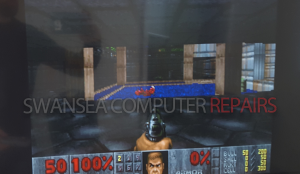
RetroPi Setup
Recently the Raspberry Pi has released the Version 2 (Pi 2) and like most IT people, we just had to get our hands on the little fella!
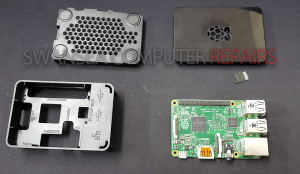
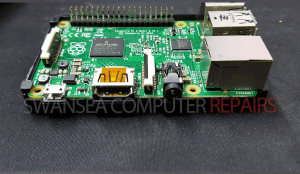
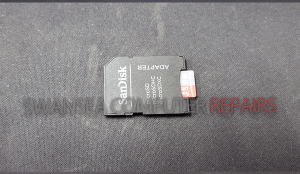
So off we trotted, and got hold of a lovely Raspberry Pi 2 Model B, with a nice case and power supply, and I dug out an old Micro SD card to use.
Excelent I thought. Its really pretty and can do so much!!……..Which leaves me with the question… What am I going to do with it??
After discussing it with a few other members of staff, I decided to take over the meeting room for a few hours and re live my childhood. I was going to install a Retro Pi! First things I had to get all the stuff sorted before I could start, including two cheap usb controllers and stealing the wireless mouse and keyboard from the meeting room.
Download:
- Retropie
- Win32DiskImager
- https://en.wikipedia.org/wiki/Coffee (joke..just go grab a coffee)
- 7Zip
Booted up my Windows Laptop and made my coffee.
Retro Pi here I come!
Step 1)
Step 2)
Step 3)
- Install the Pi Image.
- Extract the retropi image from the gz file. If you have trouble extracting this, download 7zip (see download links at the top)
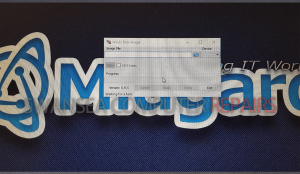
- Open up Win32 Disk Imager
- Make sure the device is the SD card. This is really important so I will mention this twice.
- Make sure the device is the SD card!
- On the Image file, browse to the fresh extracted img file for the RetroPi.
- Take a deep breath and “Write”
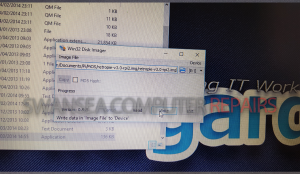
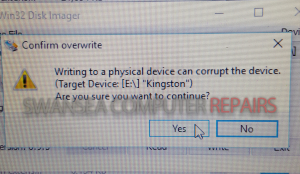
At this point you have about 20minutes to wait, so off I went and made everyone a cup of coffee. No better way to keep collegues sweet then to ply them with hot drinks while you sneak off to make a retro gaming machine.
Step 4)
- When finished, close the disk imager and eject the sd card.
- Put the newly made image file into the SD slot on the pi!
- Plug it all in and fingers crossed power it on. .
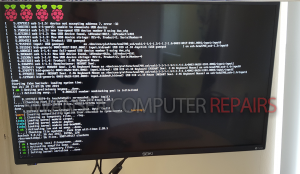
Step 5) also known as: The niggley bits!
- Booting up
- Setting up the Controller, I only bought a cheap (Very cheap) SNES looking controller from Amazon, but it works. The Emulation software can use PS3 controllers (USB) which gives you all the extra options such as the joystick parts (or the “Nubbin Controllers” if you ask my Girlfriend).
- The second thing to do, is to go into the options and expand the SD card. The image will only show a few hundred megs on the card, instead of the GIGs available, so by running that command you can now store all the opensource and freeware roms you can fit.
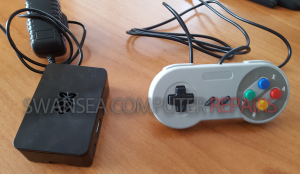
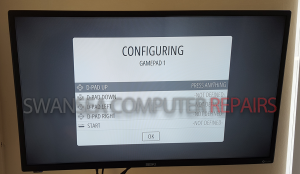
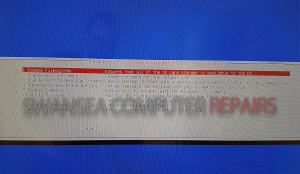
Lets reset and play!
Step 6) also known as :The Sound Issue!!AHGHGHHGHH
- So after loading it up and choosing to play Doom (Comes pre-packaged with the Emulator) I noticed something…no sounds!
- This following fix I did via my PC so if you have a linux machine I will write out the instructions I used. If you have a windows machine I will attach a the instructions but I have not tried it that way.
Linux
- 1)Make sure its connected to the same network
- 2)Find the IP address (in my case it was 192.168.1.52) you can do this from the menu on the PI
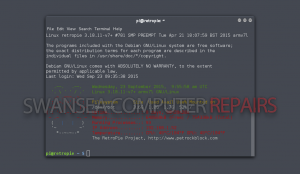
- 3) Boot a terminal, and SSH into the PI
[code] ssh 192.168.1.52 -l pi
Accept the warning
password is standard on all Pi (raspberry)
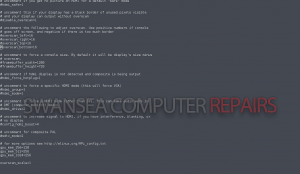
sudo nano
/boot/config.txt
this will open up a config file for you to edit.
uncomment (delete the ‘#’) hdmi_drive=2
this will force it to use the HDMI cable connection.
Press Control-x
Press y
Press [enter]
sudo reboot
[/code]
- After exiting the editor, restart using the command
Windows:
[code]
Power down the Pi
Yank out the sd
card and put it back into the windows machine
use Notepad and open up the config.txt file found in the /boot/ directory
delete the ‘#’
infront of the hdmi_drive=2
save
eject the card and put back into the pi
Power on.[/code]
Step 7) Try again!
….
- SUCCESS!!!!
You will also notice that the card contains a folder structure in “roms” to put correct games into the correct folders. Have fun! Time to relive my youth!

